
Not every workflow has to solve a business problem. This guide sets up a small two-player Rock Paper Scissors game, with a backend built entirely with Bosbec Workflows. It's a fun way to get familiar with HTTP-in triggers, unit metadata, and API responses before moving on to more serious integrations.
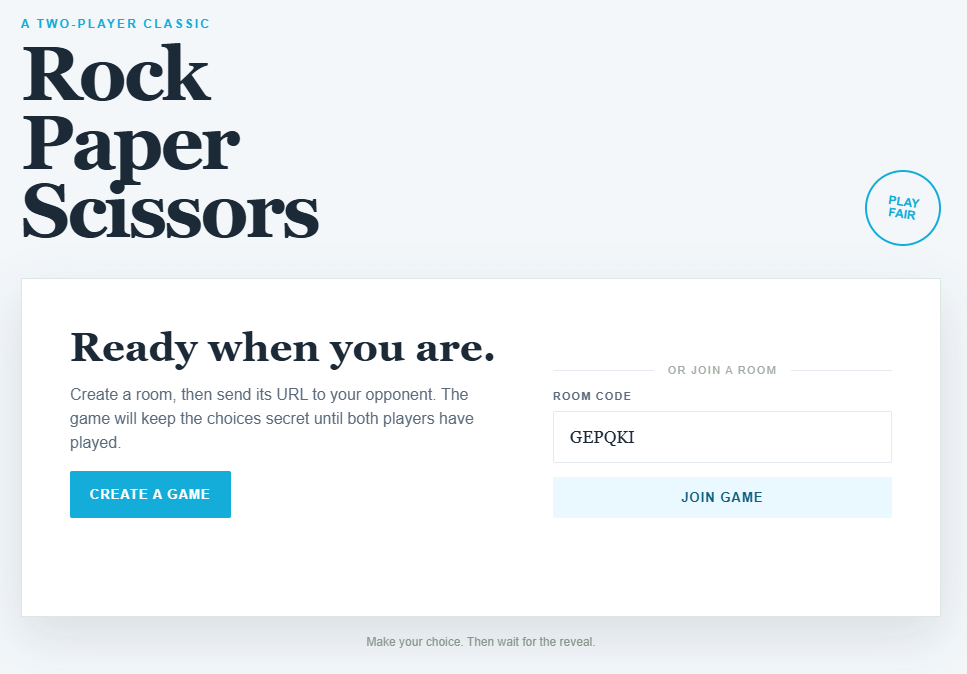
The game works over a shared room code. One player creates a room, sends the link to a friend, and both players make their choice without seeing what the other one picked until both have chosen.
Import the workflow
Open Workflow Builder and navigate to View > Workflow Library.
Under Tutorials, find and import the template named Bosbec: Rock Paper Scissors.
If you created your account using the button on this page, you may already have selected this template when launching Workflow Builder and can skip this step.
Set up the workflow
The workflow needs an HTTP-in channel to expose its endpoints and web page.
Create an HTTP-in channel on your account, then open each of the incoming triggers in the workflow and select the channel you created. There is one trigger per endpoint, plus a trigger that serves the game's web page.
Save and activate the workflow when every trigger has been configured.
Play the game
Once the workflow is active, open:
https://example.in.bosbec.io/index
replacing example with your own HTTP-in channel's subdomain.
Create a game, then send the page URL to whoever you want to play against. When they open it, they will automatically join your room. Choose rock, paper, or scissors, and the result is revealed once both players have chosen.
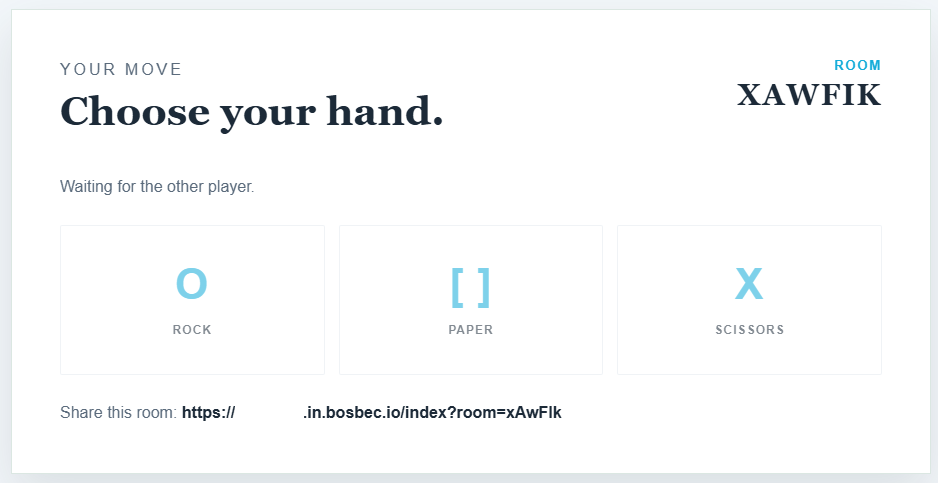
How it works
The game is stored as a single unit per room, holding the room code, each player's token, their current choice, and the winner of the round. The status of a room moves through three states:
waiting_for_player
waiting_for_choices
finished
The workflow exposes the following endpoints:
| Method | Endpoint | Description |
|---|---|---|
POST |
/games/create |
Create a new game as player 1 |
POST |
/games/{room_code}/join |
Join an existing game as player 2 |
GET |
/games/{room_code} |
Get the current state of a game |
POST |
/games/{room_code}/choice |
Submit a player's choice for the round |
POST |
/games/{room_code}/restart |
Clear the choices and start a new round |
A player's choice is never returned by the API until both players have chosen, so a room can be polled safely without revealing the outcome early.
The full API documentation that we used to build this, including request bodies and example responses, is available here:
Modify the webpage
The game's frontend is just HTML, CSS, and JavaScript returned by a Send API response job, the one right after the Web page trigger at the top of the workflow.
To change how the game looks or behaves:
- Copy the HTML out of that job's response body into a local
.htmlfile. - Open the file in your preferred IDE, such as Visual Studio Code.
- Use GitHub Copilot or another AI assistant to redesign the page, add animations, or change how the result is shown, while keeping the same API calls to the workflow's endpoints.
- Paste the updated HTML back into the job's response body and save the workflow.
This is the same approach described in Working with Bosbec and AI, which walks through planning, building, prompting, and publishing changes like this with an AI assistant.
Extend the game
The workflow and web page are only a starting point. Since everything is built from ordinary Bosbec jobs, you can extend it just like any other workflow, for example by:
- Adding more rounds, best-of-three, or a running score.
- Storing finished games for later review.
- Adding a spectator view that doesn't allow choices.
- Building a different frontend on top of the same API.
If you're new to building your own APIs and interfaces in Workflow Builder, see Building Your First API and Hello World Interface for a more detailed introduction to the concepts used here.