After defining the problem, identifying the requirements, and building the API functions based on those requirements, we are now ready to move on to preparing the project in your IDE.
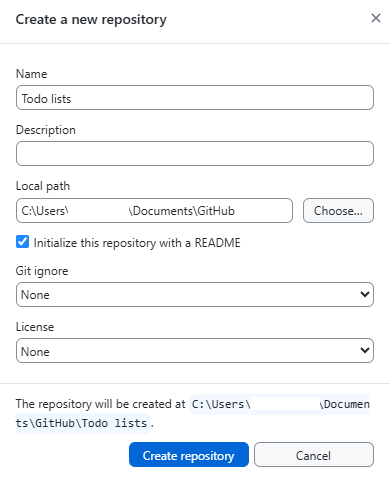
We start by creating a repository using GitHub so that we can version control the code and restore it during development if needed. Create the repository with a README.md file…
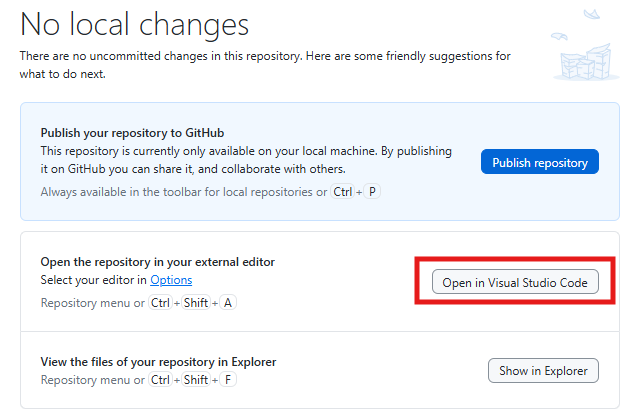
…and then open the project in Visual Studio Code.
If you do not already have Copilot installed and signed in, you can find more information on their website.
Open the README.md file and paste in the notes you wrote about the project when you first started outlining it. This document can be used as instructions for Copilot, but also as a reference for yourself, so you can document your ideas and more easily return to the project after a break.
If you have not already done so in the previous step, we recommend testing your API requests using Postman or a similar application. Save the requests so that you have them available for future use.
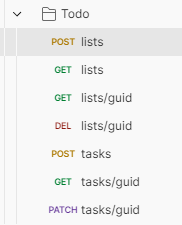
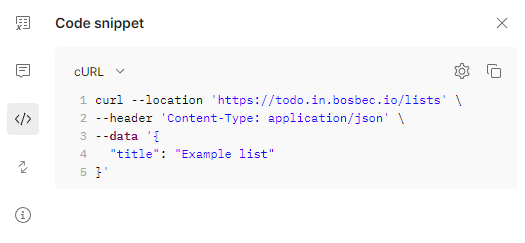
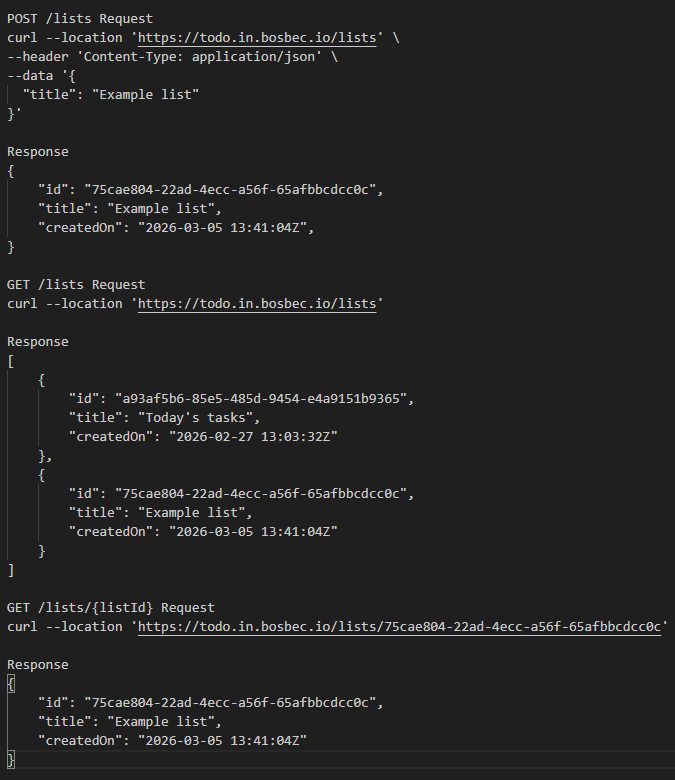
From Postman, you can also export a code snippet and copy the request. Copy the requests you have already implemented in your workflow and add them to your README.md file.
Make a request and copy the response you receive from your workflow, then paste this into your README.md as well.
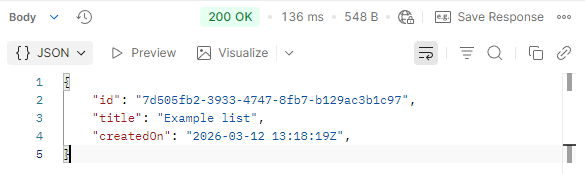
The result will be your own API documentation, which Copilot can then use as context when generating your web interface.
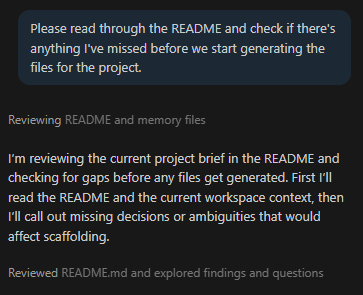
The final step in the preparation process is to clean up and refine your README. Is there anything you may have missed? Ask Copilot!
After following Copilot’s advice, answering the questions, and tweaking the texts, the README may look something like the image below.
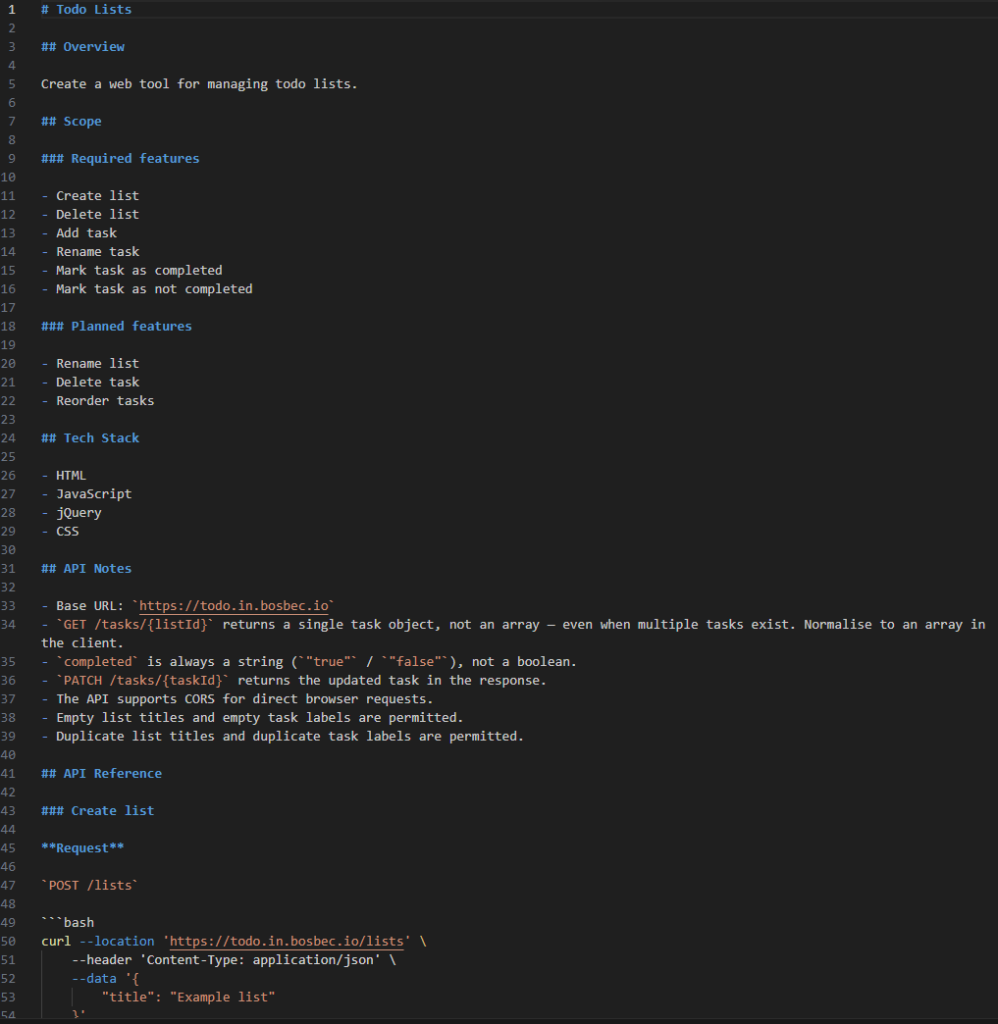
We have also saved the README file used in this example as a reference, which you can download to see exactly how we structured it in our tests!
You are now ready to move on to the final step: generating the code.