Now that everything is prepared, the next step is to generate the code. Start by writing something like “Set up the required files.” Copilot will then create the necessary files based on the README you prepared in the previous step.

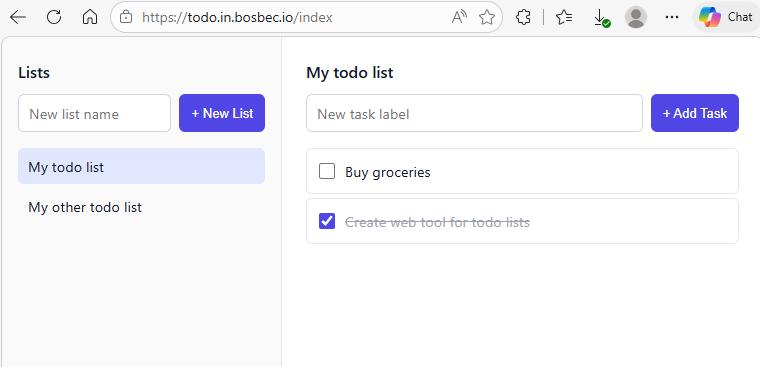
Just like with the README file, you will likely need some back-and-forth with Copilot before everything works as expected. However, after sending the initial prompt to get started, you should already have something you can open in your browser and test. In our case, Copilot generated an interface similar to the one shown in the image below.
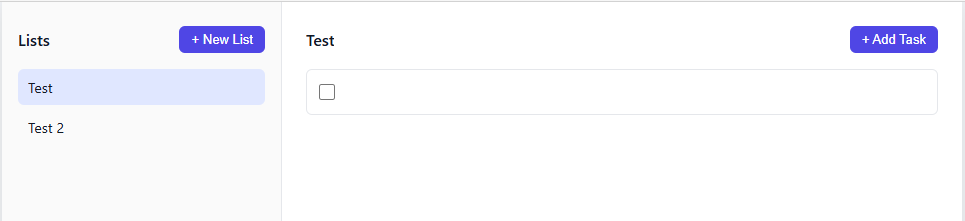
At first glance, it looked exactly like what we expected, but there were a couple of issues. For example, the page did not refresh after performing actions such as adding a list or creating a task. This made it appear as though the tool was not working.
Additionally, the rename functionality did not behave as intended. According to Copilot’s instructions, pressing Enter should save the new name, but this did not happen.
After a few additional prompts and adjustments with Copilot, we were able to resolve these issues and update the controls so that the interface reloads correctly when changes are made.
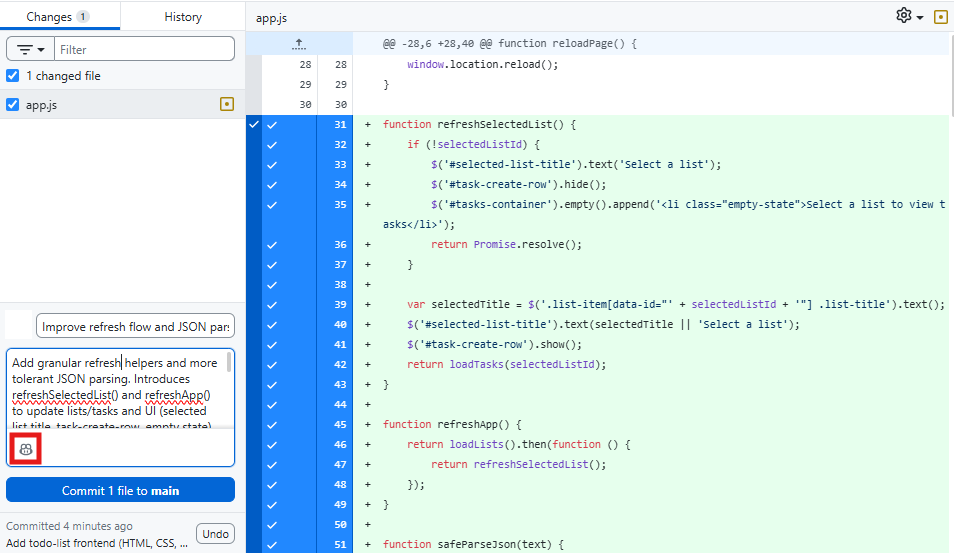
Speaking of changes, do not forget to create commits on GitHub so you have clear points to roll back to if needed. You can also use the Copilot button to generate commit messages, which makes it easier to understand what has been changed in each commit.
Our first version is now complete, and we can start thinking about hosting it. One option is to deploy it using a traditional web hosting service, just like any other web project.
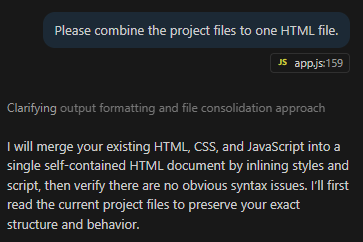
Another option is to ask Copilot to merge the project into a single-page file, which can then be returned directly from an HTTP response in a workflow. In the image below, you can see the prompt we used to ask Copilot to combine the project into a single file.
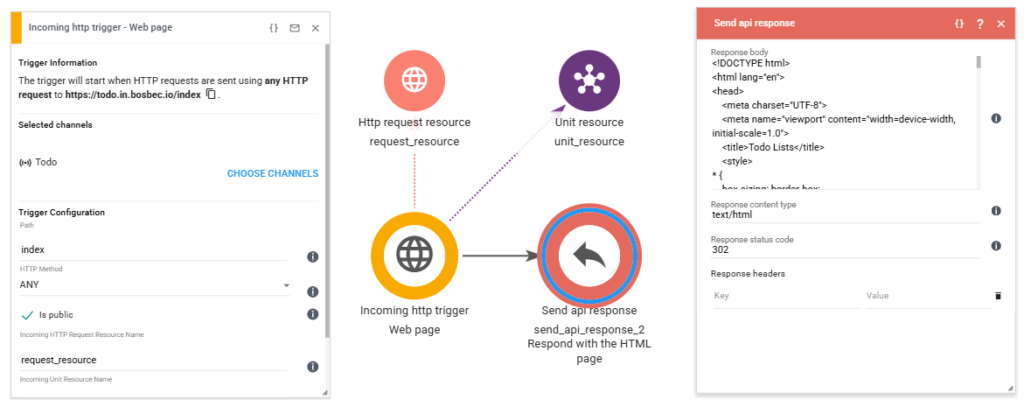
Once this is done, create a trigger using the same channel as the API requests you’ve built earlier and set the path to “index” or something similar. This will become the URL used to reach the tool.
In the Send API Response job, we paste the combined HTML code, set the content type to text/html, and use a 302 redirect to the webpage.
Once this is configured, users can navigate directly to the specified URL and start using the tool!
The key takeaway from this guide and process is that AI works best when it is guided by clear structure and documentation. By defining the problem, documenting the API, and working incrementally, you can use AI as a practical development tool to build functional projects quickly while still maintaining control over the overall design.
While AI can help generate interfaces, code, and ideas quickly, Bosbec makes it easy to expose functionality through workflows and HTTP endpoints without requiring extensive backend development. By combining Bosbec and AI, it becomes possible to prototype, build, and iterate on web tools much faster than with a traditional development workflow.